
Most people searching for a first guide to gaming monitors are not browsing out of curiosity. They just plugged in a new panel and something is off: the motion looks the same as the old screen, the image tears across the middle, objects leave trails, or the colors look either bleached or radioactive. My name is Nina Alvarez, I have spent nine years as a display specialist, and my bench consists of a colorimeter, a photodiode response-time tester and a pattern generator. I have measured hundreds of panels, and I can tell you that the overwhelming majority of “my new monitor is broken” messages are settings problems that take under five minutes to correct.
So this guide runs backwards from most beginner articles. The fixes come first, ordered by how often each one turns out to be the actual cause. The explanation of refresh rate, response time and panel technology comes after, once your screen is behaving. If you are shopping rather than troubleshooting, skip to the sizing and panel sections near the end.
As an Amazon Associate we earn from qualifying purchases at no extra cost to you. Product prices and availability are accurate as of the date shown and are subject to change.




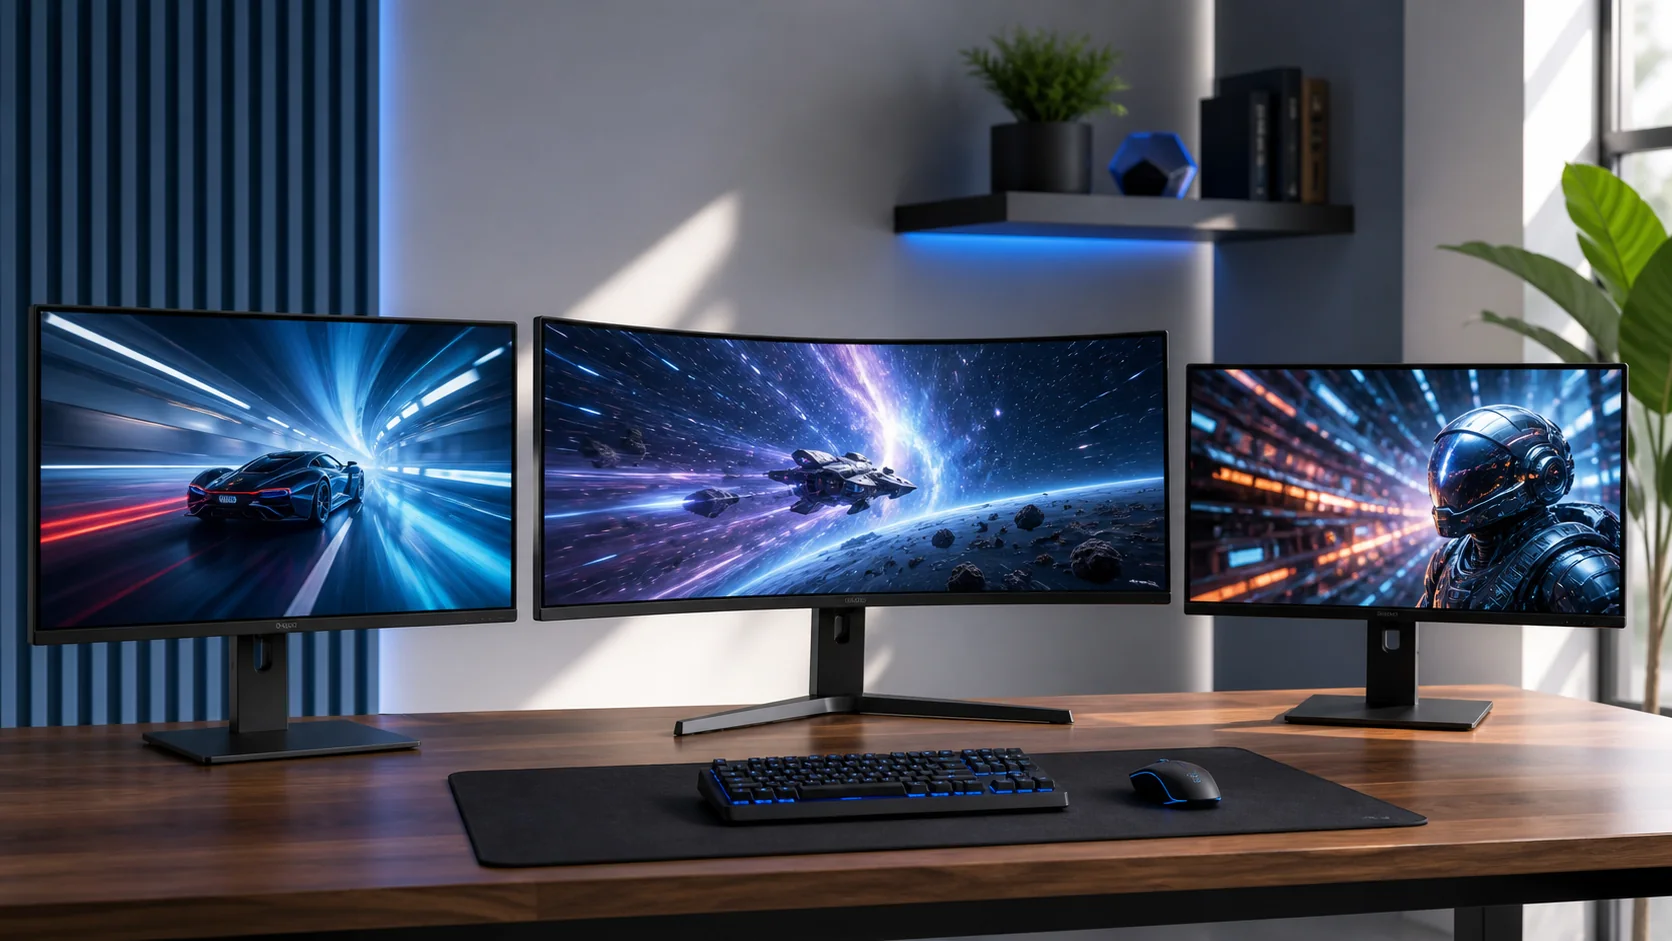
Top 3 picks at a glance
Start here: the fast checks, ordered by how often they are the culprit
Work down this list in order. In my experience helping readers and friends, the first two items resolve roughly three out of four complaints on their own.
- Refresh rate still at 60 Hz in Windows — about 40% of cases. Two minutes to fix.
- Variable refresh rate never enabled — about 20% of cases. Three minutes.
- Overdrive set wrong (trails or halos) — about 15% of cases. Five minutes.
- Wrong cable or wrong port on the PC — about 10% of cases. Two minutes.
- Picture processing adding lag or crushing detail — about 8% of cases. Three minutes.
- Color mode or HDR toggle making everything look wrong — about 5% of cases. Five minutes.
- An actual panel defect — the remaining few percent. Test it before the return window closes.
Each of those gets its own section below, with the exact menu path and what a correct result looks like.
Fix 1: Windows is probably still driving the panel at 60 Hz
This is the single most common cause, and it is invisible unless you go looking. Windows negotiates a safe mode when a display is first connected, and it does not automatically climb to the panel’s maximum after the graphics driver loads. People spend a week thinking their 165 Hz purchase was a waste while the desktop runs at 60 Hz.
On Windows 11, open Settings, then System, then Display, then Advanced display. There is a dropdown labeled “Choose a refresh rate.” Set it to the highest value listed. On Windows 10 the same control sits under Display adapter properties, on the Monitor tab. Then open the NVIDIA Control Panel or AMD Software and confirm the same rate is selected there, because the two can disagree after a driver update.
Why this matters in concrete terms: at 60 Hz a new image appears every 16.7 milliseconds. At 144 Hz it is 6.94 ms, and at 240 Hz it is 4.17 ms. That interval is the floor on how quickly anything you do can appear on screen, and it is also the length of time each frame is held static in front of your eye. Held frames are what your brain perceives as blur during a camera pan. When I run a pattern generator through a moving-edge test and capture the transition with a photodiode, the difference between a 60 Hz and a 144 Hz presentation of the same content is not subtle on the trace, and it is not subtle to the eye either.
Two extra checks. First, if the dropdown simply does not offer the high refresh rate, skip ahead to the cable section, because you are bandwidth limited. Second, if the desktop is fine but a game still feels slow, open the in-game settings and look for a frame rate limiter or a V-Sync toggle capping you at 60. If you want the full reasoning on which refresh rate is worth paying for, we covered that separately in our guide to the best refresh rate for gaming.
Fix 2: Tearing across the screen means VRR is switched off
Screen tearing looks like a horizontal seam where the top and bottom halves of the image are misaligned during motion. It happens because your graphics card finished a new frame partway through the monitor drawing the old one. It is not a defect, and it is not a sign of a failing cable.
The fix is variable refresh rate, sold as G-Sync on NVIDIA and FreeSync on AMD, both of which are now built on the same Adaptive-Sync standard. Instead of the monitor refreshing on a fixed clock, it waits for the graphics card to finish. There are two switches, and beginners usually flip only one:
- In the monitor’s own menu, find Adaptive-Sync, FreeSync, or G-Sync Compatible and set it to On. On many models this defaults to off out of the box.
- In the graphics driver, enable G-Sync in the NVIDIA Control Panel under Set up G-SYNC, or FreeSync in AMD Software under Display. Tick the box that enables it for both full screen and windowed modes.
Then cap your frame rate a few frames below the panel maximum — 141 on a 144 Hz screen, 156 on a 165 Hz screen, 234 on a 240 Hz screen. This keeps you inside the VRR window instead of bouncing off the ceiling, where tearing returns. Use the driver’s frame limiter or the game’s own cap; both work, though the driver limiter is usually more consistent.
One thing worth understanding: VRR has a lower bound, often 48 Hz. Below that, the monitor uses low framerate compensation, which draws each frame twice to stay inside the valid range. That is why a properly configured 48 to 144 Hz panel still feels stable at 40 fps. If you are still seeing a seam after enabling everything, our walkthrough on how to fix screen tearing covers the remaining edge cases, and there is a longer comparison in how to enable G-Sync and FreeSync.
Fix 3: Trails and halos are an overdrive problem, not a dead panel
If moving objects leave a soft smear behind them, or if they are followed by a bright ghost outline, you are looking at the overdrive setting. Overdrive pushes extra voltage at the liquid crystal to make it twist faster. Too little and the pixel arrives late, which reads as smearing. Too much and the pixel overshoots its target value before settling, which reads as a bright or dark halo trailing the object. Manufacturers ship a range of levels and label them inconsistently: Off / Normal / Fast / Fastest, or OD 1 through 3, or Standard / Advanced / Extreme.
Here is the procedure I use, and it works without any lab gear. Open a browser-based moving-object test, set it to a moderate speed, and step through the overdrive levels one at a time, giving each about fifteen seconds. You are looking for the highest setting that shows no bright halo. On most IPS panels I have measured, that is the middle option. The top option almost always trades a small gain in transition time for visible overshoot, which the eye notices more than the blur it removed.
Numbers help set expectations. Boxes advertise 1 ms, and that figure is usually a best-case gray-to-gray transition measured between two convenient shades, or an MPRT number that only applies with backlight strobing active. On my photodiode rig, measuring 10% to 90% of the transition across a full grid of gray levels, a good IPS panel at its balanced overdrive setting typically averages somewhere in the 4 to 8 ms range, with the worst dark transitions slower still. VA panels are usually excellent at light transitions and noticeably slower on dark ones, which is why black smearing is a known VA trait. None of that means your unit is defective; it means the marketing number and the measured average are different quantities.
One more consideration: some panels change their overdrive behavior as refresh rate varies, so a setting that looks clean at a locked 144 Hz can overshoot at 60 fps with VRR active. If you notice halos only during frame rate dips, drop one overdrive level.
Fix 4: The cable and the port you plugged into
If the high refresh rate is missing from the Windows dropdown entirely, the signal path cannot carry it. Three things go wrong here, in descending order of frequency.
The cable is plugged into the motherboard, not the graphics card. On a desktop with a discrete GPU, the video outputs on the motherboard’s rear I/O panel belong to the processor’s integrated graphics. Video will appear, so nothing looks broken, but you are running on the wrong hardware. The graphics card’s ports sit lower on the case, oriented horizontally.
The cable standard is too old. The bandwidth math is straightforward. An uncompressed 2560×1440 signal at 144 Hz and 8 bits per color needs roughly 12 to 14 Gbps once blanking overhead is counted. HDMI 2.0 carries 18 Gbps, so that combination fits, but 4K at 144 Hz does not. DisplayPort 1.4 carries 32.4 Gbps raw, about 25.9 Gbps of usable data, and adds Display Stream Compression to go further. HDMI 2.1 raises the ceiling to 48 Gbps. If you have a choice, use DisplayPort on a PC and HDMI 2.1 on a console.
The cable is unlabeled or was bundled with something else. HDMI cables in particular are sold by certification tier, and a cable pulled from a set-top box drawer may only be rated for 10.2 Gbps. If the resolution works but the refresh rate does not, swap the cable before you blame the monitor. Cheap or damaged cables also cause intermittent black flashes, which people often misread as a failing panel.
Laptop users have a fourth trap: a USB-C port may run DisplayPort Alt Mode on only two lanes if the other two are reserved for data, halving available bandwidth. If your laptop has a dedicated HDMI or Mini DisplayPort output wired to the discrete GPU, use it.
Fix 5: Picture processing that adds lag or hides detail
Monitors ship with processing enabled that made the picture look good on a store shelf and does nothing useful at your desk. Go through the on-screen menu and handle these:
- Turn Game Mode on. On most panels this bypasses several processing stages. The saved latency is modest — typically a few milliseconds of internal processing — but it is free.
- Turn off dynamic contrast. It swings the backlight based on average scene brightness, which makes dark corridors pulse and hides enemies in shadow.
- Turn off noise reduction, smooth motion, and any sharpness setting above the default midpoint. Oversharpening creates white outlines around text that people mistake for a bad panel coating.
- Leave backlight strobing off for now. Features named MPRT, ULMB, or similar do genuinely cut perceived motion blur by flashing the backlight, but they typically cost 30% to 50% of peak brightness, they cannot run at the same time as variable refresh rate on most hardware, and some people see the flicker. Try it later, deliberately, once everything else is set.
If you are using a television as a monitor, there are two extra steps: enable the port’s PC or Enhanced input mode so it accepts full 4:4:4 chroma, and rename the input to “PC” if the set requires that to disable the interpolation pipeline. Without those, text fringes in color and input lag climbs badly.
Fix 6: Washed-out or oversaturated color
Two opposite complaints share one root cause: a mismatch between the panel’s color gamut and what the content expects.
If reds look like traffic cones and skin tones look sunburned, you have a wide-gamut panel showing standard content without a clamp. A panel covering 90%+ of DCI-P3 stretches sRGB content across a much larger space unless it is told not to. Look in the monitor menu for an sRGB or Standard mode and select it for desktop use. Some units lock brightness in that mode, which is annoying but still preferable to the stretched look.
If everything looks gray and lifeless instead, check whether Windows HDR is switched on while you are viewing standard content. HDR mode changes how the desktop is composited, and on a panel without meaningful local dimming the result is flat and dim. Turn it off for desktop and enable it per-game. Our step-by-step on how to set up HDR on Windows explains when it is worth enabling at all.
On my own bench, the baseline I aim for on an SDR desktop is a 6500K white point, gamma 2.2, and around 120 cd/m² of luminance in a dim room or 180 to 200 cd/m² in a bright one. Most panels leave the factory near 100% brightness, which is roughly 300 to 400 cd/m² and a genuine cause of eye strain during long sessions. You do not need a colorimeter to improve on the factory state — dropping brightness and switching off the “cool” color temperature preset gets you most of the way. If you want to go further, our guide to calibrating a gaming monitor covers both software and hardware routes.
Fix 7: Confirming it really is a defect, before the window closes
A small number of panels genuinely arrive faulty. Test in the first few days, not the second month, because retailers treat a report on day 5 very differently from one on day 45.
Run a solid-color cycle at full screen — black, white, red, green, blue — and look closely for permanently lit or permanently dark subpixels. Then view a full black screen in a dark room and check the four corners for backlight bleed and the edges for IPS glow, which brightens as you move your head off-axis. A little glow is normal on IPS and is not a fault; distinct bright blotches are. Our checklist on how to check for dead pixels lists the specific patterns and what most warranties actually cover, since many manufacturers require a minimum number of dead subpixels before they will act.
Also check the physical setup while you are there. Raise the stand so the top edge of the screen sits at or just below eye level, and sit roughly 60 to 80 cm away from a 27-inch panel. A surprising share of “this monitor gives me headaches” reports are a screen mounted 15 cm too low with brightness at maximum.
What the spec sheet actually means
Once the screen behaves, the specs stop being intimidating. Here is the translation table I wish someone had handed me in my first year.
| Spec on the box | What it claims | What it means at your desk |
|---|---|---|
| Refresh rate (Hz) | Frames drawn per second | The ceiling on smoothness. Real benefit is large from 60 to 144, modest from 144 to 240, small above that for most players. |
| 1 ms response time | Pixel transition speed | A best-case or strobed figure. Measured averages across all transitions are usually several times higher. |
| Contrast 1000:1 | Black depth vs white | Typical IPS. VA reaches 3000:1 or more. OLED is effectively unlimited. This drives how good dark scenes look. |
| HDR400 | High dynamic range support | Accepts an HDR signal but rarely displays it convincingly. Meaningful HDR starts around 600 nits with local dimming zones. |
| Color gamut 99% sRGB | Range of colors | Correct for desktop and most games. Wide-gamut figures like 95% DCI-P3 need an sRGB clamp for normal content. |
| VRR range 48-165 Hz | Adaptive sync window | The frame rate band where stutter and tearing are handled. Below the floor, frame doubling takes over. |
The two lines worth the most attention as a beginner are refresh rate and contrast. Refresh rate governs how the screen feels in motion. Contrast governs how it looks when you are standing still in a dark room, which is a large fraction of most games.
Choosing a first monitor: match the panel to your graphics card
The mistake I see constantly is buying resolution the graphics card cannot feed. A 4K 144 Hz panel running at 48 fps is a worse experience than a 1440p 165 Hz panel running at 130 fps, and it costs considerably more. Work from your hardware outward.
| Your GPU class | Sensible resolution | Size | Refresh target | Realistic fps in modern titles |
|---|---|---|---|---|
| Entry (older 60-class cards) | 1920×1080 | 24 in | 144-165 Hz | 70-120 at medium |
| Mid-range current 60-class | 1920×1080 or 2560×1440 | 24-27 in | 165-240 Hz | 90-144 at high |
| Upper mid-range 70-class | 2560×1440 | 27 in | 165-240 Hz | 110-165 at high |
| High end 80-class | 2560×1440 or 3440×1440 | 27-34 in | 240 Hz | 120-200 at high |
| Flagship | 3840×2160 | 27-32 in | 144-240 Hz | 90-140 with upscaling |
On sizing: 24 inches at 1080p and 27 inches at 1440p both land near 92 pixels per inch, which is why those pairings feel natural. A 27-inch 1080p panel drops to about 82 ppi and looks visibly softer at desk distance. A 32-inch screen at 1440p falls to 93 ppi, which is fine, but at that size many people prefer 4K. There is a full breakdown in our monitor size and viewing distance guide, and specific model shortlists in our 1440p roundup and our picks for the best budget gaming monitor.
Panel technology in plain terms
IPS is the default recommendation for a first gaming monitor. Color accuracy is good, viewing angles are wide, and current models are fast enough that response time is rarely the weak point. The trade-off is contrast around 1000:1 and a low-level glow in dark corners.
VA trades viewing angle for contrast, typically 3000:1 to 4500:1. Dark scenes look substantially better, and curved VA ultrawides are common at reasonable prices. The known weakness is slow dark-to-light transitions, which appear as black smearing during fast panning. If you play a lot of dark, atmospheric games and few competitive shooters, VA is a reasonable pick.
OLED gives per-pixel light control, near-instant transitions, and black levels nothing else matches. It costs more, peak full-screen brightness is lower than a good LCD, and permanent image retention remains a real consideration for people who leave static interfaces on screen for hours. Current panels include pixel-shifting and refresh cycles that manage this well; our piece on OLED burn-in risk covers the realistic odds.
TN is mostly gone from the mainstream. It is still the cheapest route to a very high refresh rate, with weaker colors and narrower viewing angles. Unless you are building a dedicated competitive setup on a tight budget, look elsewhere. The direct comparison lives in IPS vs VA vs TN panels compared.
How I test, and why my numbers differ from the box
Transparency about method matters more than any single figure. My response-time numbers come from a photodiode aimed at the panel while a pattern generator drives a defined set of gray-level transitions. I record the analog trace and measure the 10% to 90% rise or fall, then average across the full transition grid rather than cherry-picking the fastest pair. That is why my figures land above the marketing claim: I am reporting the average a player actually experiences, not the single best case.
Color work runs through a colorimeter, profiling the panel against a known set of patches to produce a report on white point, gamma tracking and gamut coverage. Uniformity gets measured across a nine-point grid, because a panel can be perfect in the center and 15% dimmer in a corner. Nine years of doing this has taught me that unit-to-unit variation within the same model is real, which is why I trust a return window more than any single review, including my own.
Five habits that keep a new monitor working properly
- Re-check the refresh rate after every major Windows or driver update. It resets more often than it should.
- Keep the frame cap slightly below the panel maximum so you stay inside the VRR window.
- Do not chase the highest overdrive setting. Overshoot is more visible than the blur it removes.
- Run the desktop at a sane brightness. Factory defaults are set for retail lighting, not your room.
- Revisit the settings after adding a second display. Mixed refresh rates can pull both panels down; our notes on setting up dual monitors cover that case.
A 20-minute routine for a brand new monitor
Do this once, in order, on the day the box arrives:
- Connect with DisplayPort to the graphics card, not the motherboard. (2 min)
- Set the maximum refresh rate in Windows and confirm it in the graphics driver. (3 min)
- Enable Adaptive-Sync in the monitor menu and G-Sync or FreeSync in the driver. (3 min)
- Cap your frame rate a few frames under the panel maximum. (1 min)
- Step through overdrive levels on a motion test and stop below the halo point. (4 min)
- Turn on Game Mode, turn off dynamic contrast, noise reduction and extra sharpness. (2 min)
- Select sRGB or Standard color mode, then lower brightness to a comfortable level. (2 min)
- Run a dead pixel and backlight bleed test while the return window is fresh. (3 min)
That routine turns a panel that “looks the same as my old one” into one that clearly does not. Everything else — HDR tuning, custom ICC profiles, backlight strobing experiments, a second screen — can wait until the basics are locked in. Start with the fixes, then let the theory make sense afterwards.
This guide covers one angle on the topic. For the full comparison, see our main guide: Monitors for Beginners: What You Actually Need in a First Display.
Related guides
- Gas Spring Monitor Arm vs Mechanical Spring Monitor Arm: Which Is Right for Your Home
- 49 Inch Super Ultrawide vs Dual 32 Inch Monitors: Which Is Right for Your Home
- Stacked Dual Monitors vs Side By Side Gaming Monitors: Which Is Right for Your Home
- 27 Inch 1440p vs 32 Inch 4k for Gaming: Which Is Right for Your Home


