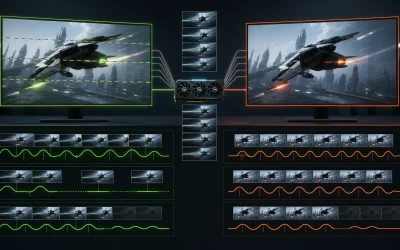
Calibrating a gaming monitor means adjusting brightness, contrast, gamma, color temperature and gamut mode until the panel reproduces color and luminance accurately instead of relying on the factory’s often oversaturated “vivid” preset. Most gaming monitors ship with brightness cranked to 300-400 nits, gamma pushed to 2.0 instead of the standard 2.2, and color temperature skewed 500-1000K warmer or cooler than the 6500K daylight standard, all of which distort how games actually look and can wash out shadow detail in competitive titles. The fix takes 15-25 minutes using either the monitor’s built-in test patterns or a hardware colorimeter, and the payoff is consistent color across every game and every color grading choice a developer intended.
This guide walks through the exact settings to change, in the order that avoids fighting your own adjustments, plus the specific mistakes that make calibration worse instead of better. Display specialist Nina Alvarez, who has spent nine years calibrating monitors professionally for photo and video studios before moving into gaming displays, tested this workflow across VA, IPS and OLED panels using a colorimeter, photodiode response-time tester and pattern generator to confirm the target values below hold up across panel types.
As an Amazon Associate we earn from qualifying purchases at no extra cost to you. Product prices and availability are accurate as of the date shown and are subject to change.






Top 3 picks at a glance
What Calibration Actually Changes On A Gaming Monitor
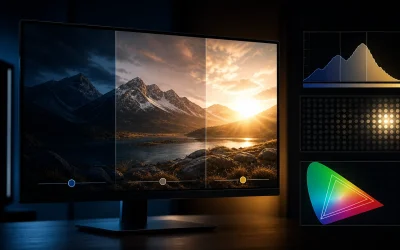
Calibration touches five core parameters: brightness (luminance in nits), contrast ratio, gamma curve, white point (color temperature in Kelvin), and color gamut mapping. Brightness controls how much light the backlight or OLED emitters output, contrast controls the ratio between the darkest and brightest points the panel can show simultaneously, and gamma determines how quickly midtones ramp from black to white. Color temperature shifts the entire image warmer (more red/yellow) or cooler (more blue), while gamut mapping determines whether the panel stretches sRGB content across a wider DCI-P3 or Adobe RGB space, which is what causes skin tones and grass to look artificially saturated on unmanaged wide-gamut monitors.
None of these settings affect refresh rate, response time, or input lag. A monitor running at 165Hz with 1ms response time keeps that exact motion performance whether you calibrate it or leave it on factory defaults; calibration is purely about how accurately colors and brightness levels are reproduced, not how fast the panel updates. This distinction matters because some buyers assume a “gaming mode” preset improves both color and speed together, when in practice most gaming modes only touch overdrive strength and leave color settings at aggressive, inaccurate factory defaults.
The target values used in most calibration guides come from Rec. 709 and sRGB broadcast standards: 6500K white point, 2.2 gamma, and 100-120 nits for SDR content viewed in a moderately lit room. These aren’t arbitrary numbers; they match the mastering environment most game developers and colorists use, so matching them on your display gets you closer to what the content creator intended you to see. Deviating from these targets isn’t wrong for gaming specifically, since some competitive players prefer flatter gamma to lift shadow detail, but you should know you’re making a deliberate trade-off rather than living with an uncalibrated factory setting by accident.
Tools You Need: Software Calibration vs Hardware Colorimeters
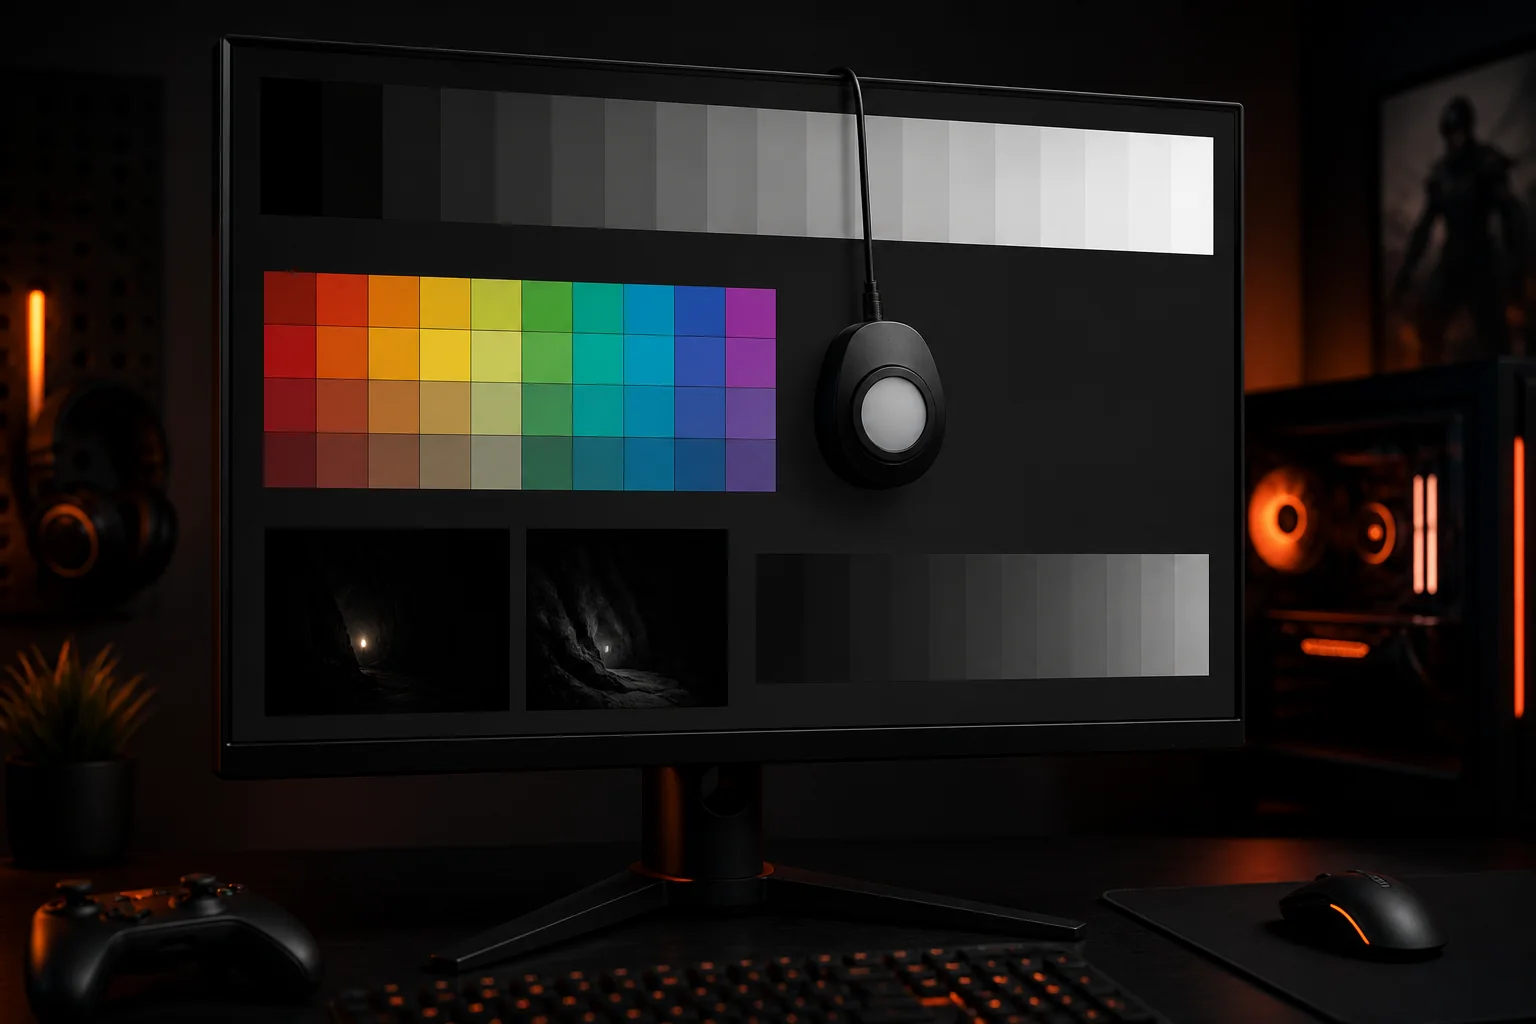
Software calibration uses your eyes and the monitor’s on-screen display (OSD) menu against built-in or downloaded test patterns, which costs nothing and takes about 15-20 minutes. Windows includes a basic display color calibration wizard under Settings, and sites like Lagom.nl or Blur Busters host dedicated gamma, sharpness and color test patterns you can load in a browser. This approach gets brightness, contrast and gross color temperature errors fixed reasonably well, though it can’t measure exact Delta E color accuracy or build a true ICC profile because human eyes are unreliable at detecting small color casts, especially after staring at a screen for more than a few minutes.
Hardware calibration uses a colorimeter, a small sensor that clips onto the screen and physically measures the light output at each test patch, paired with software such as Calibrite Profiler, DisplayCAL, or the monitor manufacturer’s own tool. Entry-level colorimeters like the Calibrite ColorChecker Display or X-Rite i1Display Pro run in the $130-$250 range and measure dozens to hundreds of color patches in a single pass, then generate an ICC profile Windows applies automatically. This is the only way to get quantifiable results below 2 Delta E, which matters for content creators and competitive players who want provably consistent color across multiple monitors.
Some gaming monitors, particularly higher-end OLED and mini-LED models, ship with factory calibration reports in the box showing measured Delta E values from the factory, sometimes as low as 1.0-2.0 out of the box in their most accurate preset (often labeled “sRGB mode” or “cinema mode” rather than the default “standard” or “gaming” mode). Checking for this preset before buying a colorimeter can save the expense entirely, since switching to the factory-calibrated mode often gets you 90% of the benefit for free.
Setting Brightness And Contrast First
Brightness should always be adjusted first because every other setting is judged relative to it. Set the OSD brightness slider using a full white test pattern and a light meter or colorimeter luminance reading, targeting 100-120 nits for a dim room, 150-200 nits for a normally lit living room, and up to 250 nits for a bright room with windows facing the screen. Most gaming monitors default to 300+ nits, which feels punchy in a showroom but causes eye strain during multi-hour sessions and makes shadow detail in dark games like horror titles or dimly lit RPGs harder to distinguish.
Contrast should be set using a checkerboard or near-white test pattern from sites like Lagom.nl: raise contrast until the brightest white squares just start clipping detail, then back off two or three clicks. Setting contrast too high crushes highlight detail (clouds become a flat white blob, bright UI elements lose texture), while setting it too low makes the whole image look flat and gray. On VA panels, which have naturally high native contrast ratios around 3000:1 to 4000:1, this step matters less than on IPS panels around 1000:1, where the OSD contrast slider does more visible work.
Local dimming and HDR-adjacent brightness features should be set separately from this base SDR calibration. Mini-LED and OLED monitors often have a “local dimming” toggle that adjusts backlight zones dynamically; leave this on medium for SDR gaming since off can produce a flatter image while max can cause noticeable blooming around bright objects like scoreboards or HUD elements against dark backgrounds. Table 1 below gives starting brightness targets by room type and panel class.
| Room Lighting | Target Brightness (SDR) | Typical OSD Slider Value |
|---|---|---|
| Dark room, curtains closed | 100-120 nits | 15-25% |
| Normal room lighting | 150-200 nits | 30-45% |
| Bright room, daylight windows | 220-280 nits | 55-70% |
| HDR content (separate mode) | 400-1000+ nits peak | Auto/HDR mode |
Dialing In Gamma And Color Temperature
Gamma controls how quickly the image transitions from black to white through the midtones, and the standard target for SDR content is 2.2, though some monitors default to 1.8 (washed-out, flat-looking midtones) or 2.4 (crushed shadows, harder to spot enemies hiding in dark corners). Most gaming monitor OSDs offer a gamma menu with presets like 1.8, 2.0, 2.2 and 2.4, or a numeric slider; use a gamma test pattern from Lagom.nl, which shows a series of striped patches that should visually blend into solid gray at the correct setting, to pick the closest match rather than trusting the preset label, since manufacturer gamma labeling is notoriously inconsistent between brands.
Color temperature (white point) should target 6500K, sometimes labeled “D65,” “Normal,” or “Standard” in OSD menus rather than “Warm,” “Cool,” or “User.” Most factory defaults run 7000-9500K, producing a visibly blue-tinted white that many buyers mistake for “sharper” or “more vivid” because cooler color temperatures increase perceived contrast. If your monitor offers a custom RGB gain menu instead of preset temperatures, start by setting all three channels (R/G/B) to equal values, then use a colorimeter reading or a known-neutral gray test image to nudge individual channels until whites and grays show no visible color tint.
Some competitive-focused players intentionally run slightly warmer or cooler than 6500K, or flatten gamma toward 2.0, to lift shadow visibility in titles where spotting enemies in dark corners matters more than color accuracy. This is a legitimate choice, but it should be a deliberate one made after you’ve seen the accurate 6500K/2.2 baseline, not an accident inherited from factory defaults. Document your chosen settings (a phone photo of the OSD menu works fine) so you can restore them after a firmware update or monitor swap, since our guide to the best monitor for competitive FPS covers panels where fast gamma-preset switching is a built-in feature.
sRGB, DCI-P3 And Wide Gamut Modes Explained
Most modern gaming monitors cover 90-99% of the DCI-P3 color space, which is roughly 25% wider than the sRGB space that most games, websites and older content are mastered in. Left in the default “wide gamut” or “native” color mode, these monitors stretch sRGB content across the full DCI-P3 range, oversaturating reds and greens noticeably, most visible in skin tones, blood effects, and foliage in games like open-world RPGs. Switching to an sRGB clamp mode, usually found in the OSD color or picture menu, restricts the panel to accurately reproduce the narrower sRGB space instead of stretching it.
The tradeoff is that sRGB clamp modes on many monitors lock out other adjustments, including brightness sliders and sometimes even overdrive settings, because manufacturers treat the mode as a fixed “accurate” preset. Check whether your monitor’s sRGB mode allows brightness adjustment before committing to it as your daily driver mode, since a locked 250-nit sRGB mode can be too bright for evening gaming with no way to dim it. If brightness is locked, some users prefer to run in native wide-gamut mode with the RGB gain sliders manually pulled back closer to sRGB proportions instead, trading some clamp accuracy for adjustability.
DCI-P3 native mode makes more sense for HDR gaming and for content explicitly mastered in wide gamut, including some newer AAA titles with HDR color grading and most 4K streaming video. If you split time between SDR desktop work, competitive gaming, and HDR cinematic titles, look for a monitor with quick-access gamut presets rather than one requiring a full OSD menu dive every time you switch use cases; our best HDR gaming monitor roundup flags which models offer one-button preset switching.
Calibrating For Competitive Play vs Cinematic Accuracy
Competitive calibration prioritizes shadow visibility and motion clarity over color accuracy: slightly flattened gamma (2.0 instead of 2.2), brightness pushed 20-30 nits above the room-appropriate target, and overdrive set aggressively even if it introduces minor inverse ghosting, because spotting a crouching enemy half a second faster matters more than accurate skin tones. Many competitive players also disable local dimming entirely in fast-paced games, since dimming zones can lag behind fast-moving bright objects like muzzle flashes, producing a trailing dark halo that costs visibility exactly when it matters.
Cinematic and content-creation calibration prioritizes the opposite: accurate 6500K white point, 2.2 gamma, sRGB or DCI-P3 clamp depending on content, and local dimming enabled for deeper blacks in dark scenes. This mode sacrifices some shadow visibility for accurate, consistent color that matches what a colorist intended, which matters more for single-player narrative games, movies and video editing than for spotting pixels in a firefight.
Most modern gaming monitors let you save 2-4 custom presets accessible through a hotkey or joystick press, so the practical solution is to build both profiles once and switch between them rather than picking one compromise setting for everything. Label them clearly in the OSD menu (many monitors allow custom preset names) so you don’t accidentally leave “competitive” mode active during a single-player session and wonder why the game looks flat and oversaturated.
Using Your GPU Control Panel Alongside Monitor Settings
NVIDIA, AMD and Intel GPU control panels all include their own color and gamma adjustments under Display or Color settings, and these stack on top of whatever the monitor’s OSD is doing, which can cause double-correction if you’re not careful. NVIDIA’s Control Panel has a “Adjust desktop color settings” page with brightness, contrast, gamma, digital vibrance and hue sliders that default to neutral (50% or 0) but can drift if a game or utility changes them; check this panel first and reset to defaults before starting monitor OSD calibration, since GPU-level color changes apply globally across every application, including your calibration test patterns.
AMD’s Adrenalin software includes similar controls under Display > Color, plus a “Custom Color” toggle that some AMD driver updates enable by default with saturation boosted; this is a common cause of games looking oversaturated after a driver update even though no monitor setting changed. Digital vibrance sliders in either NVIDIA or AMD software should generally stay at default (0 or 50%) during calibration and can be pushed up afterward as a separate, deliberate stylistic choice rather than baked into your baseline calibration.
Once your monitor OSD and GPU panel are both neutral, applying an ICC profile from a hardware colorimeter pass happens at the operating system level through Windows Color Management, which sits above both the monitor and GPU driver settings. Some games, particularly those running in exclusive fullscreen mode, bypass Windows’ ICC profile application entirely, which is one reason competitive shooters often look slightly different in color from your desktop even with a correct profile loaded; switching to borderless windowed mode restores ICC profile handling in most titles.
Windows HDR And Calibration Conflicts
Enabling Windows HDR (Settings > Display > HDR) fundamentally changes how the entire desktop renders color and brightness, and it is not compatible with your SDR calibration settings; Windows applies its own auto-tone-mapping curve on top of the monitor’s native HDR mode, which can make SDR desktop content, including web browsers and file explorer, look washed out or overly bright compared to a proper SDR-only setup. If a monitor advertises “HDR400” or similar certification but you mainly play SDR competitive titles, leaving Windows HDR off and using your calibrated SDR profile will generally look more consistent day to day.
Windows 11’s auto HDR feature and the built-in Windows HDR Calibration app (available free from the Microsoft Store) let you fine-tune the SDR content brightness slider and HDR peak brightness specifically for your panel, which is worth running once if you do keep HDR enabled full-time, since default HDR settings frequently misjudge a monitor’s actual peak brightness and clip highlights. Run this tool after any GPU driver update, since driver updates occasionally reset HDR calibration data even when Windows HDR itself stays toggled on.
Games that support HDR natively usually include their own in-game HDR calibration screen (a series of brightness patches you match to a reference image) separate from both the Windows and monitor-level settings; always run a game’s own HDR calibration screen after alt-tabbing out of one game and into another, since HDR peak brightness perception shifts noticeably between titles with different average scene brightness. Skipping this step is the most common reason HDR looks “worse” in one game than another on an identical monitor.
How Often You Should Recalibrate
LED-backlit LCD panels (VA and IPS) drift gradually as the backlight ages, typically losing 1-3% of peak brightness per year of regular use, which means a full recalibration every 6-12 months keeps values accurate without being excessive. OLED panels shift color more noticeably over their lifespan due to differential aging between the red, green and blue subpixels, so a recalibration every 3-6 months, or whenever you notice a color cast creeping into whites, is a reasonable cadence for heavy OLED users.
Recalibrate immediately after any firmware update to the monitor itself, since manufacturers occasionally reset picture settings to factory defaults during a firmware push, and after swapping GPUs or doing a clean driver install, since GPU color panel settings don’t always carry over. A quick sanity check, rather than a full recalibration, takes under two minutes: load a gray ramp test pattern and confirm there’s no visible color banding or tint, and check that pure black test patches show no obvious backlight bleed or gray-instead-of-black rendering.
Environmental changes also warrant a recheck: moving your desk near a window, changing your room’s wall paint or lighting fixtures, or switching from daytime to primarily nighttime gaming sessions all shift the ambient light your eyes are adapting to, which changes how a fixed calibration looks even though the monitor itself hasn’t changed. Keeping a saved custom preset for “day” and “night” ambient conditions, similar to the competitive/cinematic split covered earlier, avoids needing a full recalibration for what is really just a room-lighting change.
Common Calibration Mistakes That Hurt Image Quality
The single most common mistake is calibrating immediately after unboxing a monitor, before the panel has warmed up; LCD backlights and OLED panels both need 20-30 minutes of runtime to reach stable brightness and color output, so calibrating a cold panel produces values that drift within the first half hour of actual use. Let the monitor run for at least 30 minutes displaying a moving image before starting any calibration pass.
A second frequent error is calibrating in a room with inconsistent or colored ambient light, such as a desk lamp with a warm yellow bulb sitting just out of frame; your eyes adapt to ambient color casts within seconds, which skews how you judge the screen’s white point even though the monitor itself is unaffected. Use neutral white lighting, or better, dim the room entirely, during any manual eyeball-based calibration step.
Other frequent mistakes include leaving sharpness or “edge enhancement” sliders at aggressive factory defaults (these add ringing artifacts around high-contrast edges, mistaken by many buyers for “clarity”), calibrating brightness while still in the monitor’s factory “Vivid” or “Dynamic” contrast mode (which actively fights fixed brightness settings by adjusting output frame to frame), and applying a colorimeter-generated ICC profile without first zeroing out GPU-level color adjustments, which layers two corrections on top of each other and produces an inaccurate result despite using proper measurement tools. Sharpness in particular should sit near the low-to-middle end of the OSD slider (often 0-30 out of 100) for a native-resolution signal; anything higher adds visible haloing that some buyers confuse with sharper detail.
Troubleshooting: Colors Look Wrong After Calibration
If the entire image looks too dark or crushed after calibration, check that HDR is fully disabled at both the Windows and monitor OSD level, since a monitor still in an HDR-adjacent mode will apply its own tone mapping on top of your SDR gamma target, producing lifted blacks or crushed shadows depending on the panel. Also confirm the OSD’s dynamic contrast or “black stabilizer” feature, common on VA panels, is switched off, since these features actively alter brightness and gamma per-scene and will override a static calibration.
If colors look correct in the browser and desktop but wrong specifically inside games, the game is likely running in exclusive fullscreen mode, which bypasses Windows’ ICC profile system entirely; switch the game to borderless windowed or “fullscreen optimized” mode in its display settings, or check whether the game has its own separate gamma/brightness slider that needs matching to your calibrated target independently.
If one corner or edge of the screen looks tinted differently than the center, this points to backlight uniformity variance rather than a calibration error, common on larger IPS and VA panels, and no calibration setting can fully correct it since it’s a physical panel characteristic; a hardware colorimeter with multi-point profiling software like DisplayCAL can partially compensate through a 3D LUT, but expect some residual unevenness on budget panels. If colors flip or shift dramatically when you tilt your head or view from an angle, that’s a viewing-angle limitation inherent to the panel type (more pronounced on VA, minimal on IPS and OLED) rather than anything calibration can fix; see our best 27 inch gaming monitor guide for panel-type comparisons if uniformity or viewing angle is a recurring frustration.
Frequently asked questions
Do I need a hardware colorimeter to calibrate a gaming monitor?
No, built-in test patterns and your eyes can get brightness, contrast and color temperature close enough for gaming; a colorimeter like an X-Rite i1Display or Calibrite ColorChecker matters more for photo or video work where color accuracy under 2 Delta E is required for client deliverables.
Why does my monitor look different after a Windows update?
Windows sometimes resets the ICC profile association or toggles HDR and auto-brightness settings during a feature update, which silently overrides your saved calibration; reapply your ICC profile in Color Management and recheck the HDR toggle in Display settings after every major update.
Should I calibrate in a bright room or a dark room?
Calibrate in the lighting you actually game in, since ambient light changes perceived brightness and contrast; a monitor calibrated to 120 nits in a dark room will look dim in a sunlit room, so match your calibration session to your typical evening or daytime setup.
Does calibration reduce input lag or response time?
No, calibration only adjusts color and luminance values and has no effect on pixel response time or input lag, which are governed by panel overdrive settings and the connection between your GPU and display; use the monitor’s overdrive and low-latency modes separately for that.
How long does a full monitor calibration take?
A basic manual calibration using on-screen test patterns takes about 15 to 20 minutes, while a hardware colorimeter pass with software like Calibrite Profiler or DisplayCAL typically runs 10 to 25 minutes depending on the number of patches measured and whether you profile multiple luminance levels.