
HDR is enabled through Windows Settings under Display, toggling “Use HDR” for your connected monitor, but the single most important step most people skip is running Windows’ built-in HDR Calibration app afterward, which fixes the washed-out, low-contrast look that HDR displays by default before proper calibration. The whole process, including calibration, takes about five minutes once you know where to find both settings.
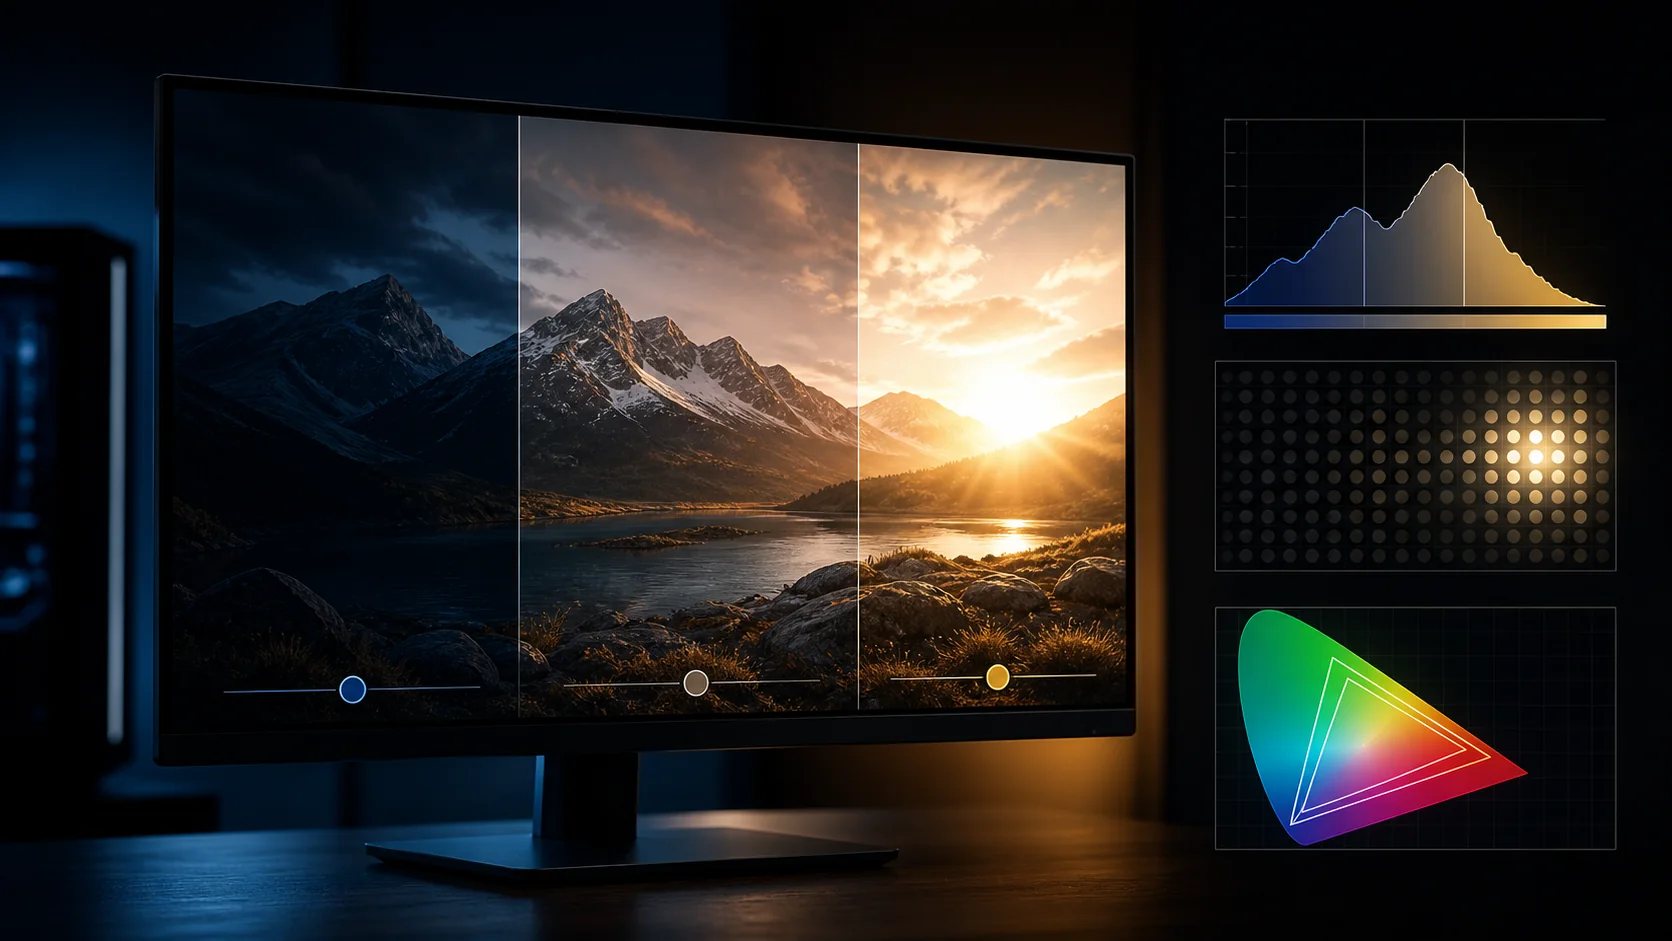
Top 3 picks at a glance
Quick answer
Go to Settings > System > Display, find your monitor, and toggle “Use HDR” on. Then search “HDR Calibration” in the Start menu (or find it in the Microsoft Store if not already installed), open the app, and follow its guided steps to set your display’s actual peak brightness, black level, and color values. Skipping this second step is why most people’s first HDR experience looks worse, not better, than SDR.
As an Amazon Associate we earn from qualifying purchases at no extra cost to you. Product prices and availability are accurate as of the date shown and are subject to change.






| Step | Where | Why it matters |
|---|---|---|
| Enable HDR toggle | Settings > System > Display | Turns on the HDR signal path |
| Run HDR Calibration app | Start menu search / Microsoft Store | Fixes default washed-out look |
| Set in-game HDR brightness | Individual game’s HDR settings | Each game needs its own calibration |
Why HDR looks wrong before you calibrate it
Windows enables HDR with a generic default tone mapping curve that isn’t tailored to your specific monitor’s actual peak brightness, black level, or color capabilities, which is precisely why the out-of-box HDR experience so often looks flatter and less contrasty than the vivid, punchy image most people expect from HDR marketing. This isn’t a sign HDR isn’t working, it’s a sign the display pipeline doesn’t yet know your specific panel’s real capabilities.
This differs meaningfully from SDR color profile setup, covered in our best display color profile for gaming guide, since HDR calibration deals with an entirely separate set of parameters: peak and average brightness in nits, black level, and how the wider HDR color and luminance range maps down to what your specific panel can actually display. A well-calibrated SDR setup doesn’t carry over to HDR automatically.
Every HDR display has different real-world capabilities even within the same nominal HDR certification tier; two monitors both labeled “HDR400” or “HDR600” can have somewhat different actual peak brightness and local dimming behavior, which is exactly why Windows’ calibration step, measuring or having you input your specific display’s characteristics, produces a meaningfully better result than any universal default could.
Confirming your monitor actually supports HDR
Before troubleshooting a washed-out or missing HDR toggle, confirm your specific monitor genuinely supports HDR signal input; this is typically listed in the monitor’s specification sheet, often alongside a certification tier (VESA DisplayHDR 400, 600, 1000, or similar, or in some cases a manufacturer-specific HDR designation). Monitors without any HDR certification generally won’t show a meaningful “Use HDR” option in Windows, or the option may appear but produce no visible benefit since the panel can’t reproduce extended brightness range.
It’s worth noting that lower HDR certification tiers, particularly entry-level DisplayHDR 400, have drawn some criticism in the display industry for not requiring true high peak brightness or local dimming, meaning some HDR400-certified monitors show a comparatively modest difference between HDR and well-configured SDR compared to higher tiers with genuine high brightness and dimming zone hardware; this is a hardware capability difference rather than something calibration alone can fully compensate for.
Confirm your cable and connection type support HDR at your intended resolution and refresh rate as well; DisplayPort 1.4 and HDMI 2.1 both comfortably support HDR at most current gaming resolutions and refresh rates, while older HDMI 2.0 connections can hit bandwidth limits at higher combined resolution and refresh rate settings, sometimes requiring a refresh rate reduction or chroma subsampling to maintain a stable HDR signal.
Enabling HDR in Windows Settings
Open Settings, navigate to System, then Display, and if your monitor is HDR-capable and properly connected, you should see an “Use HDR” or “HDR” toggle listed either directly or within an expanded section for that specific display. Multi-monitor setups show this per-display, so confirm you’re adjusting the correct monitor if you have more than one connected, since HDR is generally not something you’d want enabled on a monitor that doesn’t actually support it even if the toggle happens to be present.
After toggling HDR on, the screen will briefly flicker or go black for a moment as the display renegotiates its signal mode, which is normal and expected rather than a fault. The desktop will now be rendering in HDR mode, though as covered above, it’s likely to look flat and washed out at this point until the calibration step below is completed.
Windows 11 also includes an “Auto HDR” setting, separate from the base “Use HDR” toggle, which extends HDR-like tone mapping to certain SDR-only games automatically; this is a distinct feature worth being aware of but not strictly necessary for native HDR content, which handles its own tone mapping through the game’s own HDR implementation instead.
Running the HDR Calibration app
Search “HDR Calibration” in the Start menu; if it’s not already installed, Windows will direct you to its free listing in the Microsoft Store, from which it installs in under a minute. Once open, the app walks through a guided sequence of test patterns rather than requiring any hardware measurement device, using your own visual judgment against carefully designed reference patterns instead.
The guided steps typically include setting your display’s maximum brightness level (finding the point where a bright test pattern is still visible without clipping to pure white, which indicates the peak brightness your panel can actually distinguish), and similarly calibrating the black level to find where near-black detail remains visible without crushing to pure black. Follow the on-screen instructions carefully, since each step’s target look is described specifically rather than left to guesswork.
After completing the guided steps, the app saves these values as your display’s HDR calibration profile, which Windows then uses for its own HDR tone mapping going forward. This is a one-time process per display under normal circumstances, though it’s worth rerunning if you notice HDR content looking off after a major Windows update, since updates occasionally reset display-related settings.
In-game HDR calibration
Beyond the system-level Windows HDR Calibration app, most games with native HDR support include their own separate in-game HDR calibration screen, typically accessed from the game’s display or graphics settings menu, walking through similar brightness and contrast steps specifically calibrated for how that particular game’s engine handles HDR tone mapping. This is a necessary additional step, not a redundant one, since Windows’ system-level calibration and a game’s internal HDR implementation are separate layers.
Skipping a game’s own HDR calibration screen and just relying on Windows-level settings often results in HDR content that still looks too dark, too bright, or lacking in the contrast HDR is meant to deliver, even with Windows HDR Calibration properly completed; running through each HDR-supported game’s own calibration screen the first time you play it is worth the extra minute or two it takes.
Games vary considerably in the quality and clarity of their in-game HDR calibration process, with some offering detailed, well-explained steps similar to Windows’ own tool, and others offering only a basic brightness slider with less clear guidance; if a specific game’s HDR implementation seems to look wrong no matter how you adjust its sliders, checking community feedback or patch notes for that specific title’s HDR support quality is a reasonable next step, since HDR implementation quality does genuinely vary between games and even between different versions of the same game.
HDR on laptops versus desktop monitors
Gaming laptops with HDR-capable internal panels generally follow the same Windows Settings and HDR Calibration app process covered above, though laptop panels often have more modest peak brightness and less sophisticated local dimming than dedicated HDR gaming monitors, meaning the calibration process still helps but the resulting HDR effect may be less dramatic than on a higher-end external display.
Laptops with hybrid graphics switching between integrated and discrete GPUs occasionally show inconsistent HDR behavior depending on which GPU is actively driving the display at a given moment; if HDR seems to work correctly sometimes but not others on the same laptop, checking which GPU is handling the current application in your laptop’s graphics control panel is a reasonable diagnostic step before assuming a broader configuration problem.
Desktop and non-gaming use under HDR
Windows applies HDR to the entire desktop once enabled, not just to compatible games and content, which means SDR content like websites, most non-HDR-aware applications, and standard desktop UI elements are being tone-mapped from SDR into the HDR signal path automatically. Windows has historically had inconsistent results here, with SDR content sometimes looking slightly washed out or oddly color-shifted under HDR mode on certain displays and driver combinations.
The Windows Settings HDR page includes an “SDR content brightness” slider specifically for adjusting how bright non-HDR content appears while HDR mode is active, since without this adjustment SDR content can appear notably dimmer than it would in standard SDR mode; tuning this slider to a comfortable level for your typical desktop brightness preference is worth doing separately from the game-focused HDR Calibration app steps.
If desktop and general application use consistently looks worse under HDR despite these adjustments, toggling HDR off for general desktop use and only enabling it specifically when launching HDR-supported games or media is a completely reasonable workflow rather than something to feel obligated to avoid; many people use HDR selectively rather than leaving it on universally.
When HDR still looks disappointing after calibration
If HDR content still looks unimpressive even after completing both Windows HDR Calibration and a specific game’s own in-game calibration, the underlying limitation may genuinely be your display’s hardware capability rather than a configuration issue; monitors without true local dimming zones (a feature more common on higher HDR certification tiers and OLED panels, covered in our best OLED gaming monitor guide and best HDR gaming monitor guide) show a comparatively modest difference between well-configured SDR and HDR, since the core benefit of HDR, extreme contrast between bright highlights and dark shadows in the same scene, depends heavily on genuine local dimming or per-pixel brightness control that budget HDR-certified panels often lack.
Ambient room lighting also affects perceived HDR impact significantly; HDR’s expanded contrast range is most dramatic in a dim or dark room where deep blacks can actually appear deep, while a brightly lit room washes out the perceived contrast regardless of how well the display and calibration are configured, similar in principle to how any display’s contrast is more visually impactful in controlled lighting.
Troubleshooting common HDR problems
If the “Use HDR” toggle is missing from Windows Display settings entirely, first confirm your monitor’s HDR support and connection type as covered earlier; a common overlooked cause is being connected through the wrong port on a multi-input monitor where only certain ports support the full bandwidth HDR requires, or using a cable rated below the necessary specification for HDR at your chosen resolution and refresh rate.
Flickering specifically when HDR is enabled, particularly on multi-monitor setups, can indicate a bandwidth or handshake issue between the GPU and display; trying a different cable, a different port, or in some cases a slightly lower refresh rate setting alongside HDR resolves this in most cases, since it usually traces back to insufficient bandwidth headroom rather than a fundamentally broken configuration.
If colors look oversaturated or unnatural specifically in HDR mode after calibration, rather than washed out, this less common but real complaint sometimes traces back to a graphics driver color setting conflicting with Windows’ own HDR color management; checking that your GPU driver’s color settings (in the NVIDIA App, AMD Software, or Intel Graphics Command Center) aren’t applying an additional, separate color adjustment on top of what Windows HDR is already managing is worth checking.
HDR that worked correctly before but stopped working or reverted to looking washed out after a Windows update is a known occasional side effect of major system updates resetting display-related settings; rerunning the HDR Calibration app after significant Windows updates is a reasonable habit rather than a sign of a persistent underlying problem.
Frequently asked questions
Why does everything look washed out after I turn on HDR?
This is the most common HDR complaint and almost always means Windows’ HDR Calibration app hasn’t been run yet; Windows applies a generic default HDR mapping when HDR is first enabled, and that default is frequently too flat and low-contrast until you run the calibration tool to set proper brightness levels for your specific display.
Does every monitor support Windows HDR even if it’s not a dedicated HDR-certified display?
No, your monitor needs actual HDR hardware support (at minimum basic HDR10 signal support) for the option to appear and function meaningfully in Windows; enabling HDR on a display without real HDR support either won’t be available as an option or will apply the HDR signal without any real benefit since the panel can’t reproduce the extended range.
Should HDR be left on all the time, or only for games and movies?
Many people leave it on full-time on higher-end HDR displays with good SDR-in-HDR handling, but on monitors where desktop text and UI elements look noticeably different or slightly off in HDR mode, toggling it on specifically for HDR-supported games and content, then off for general desktop use, is a reasonable and common approach.
Does enabling HDR reduce gaming performance?
HDR itself has minimal direct performance impact on most modern GPUs, though some games render additional post-processing effects differently under HDR that could have a small performance cost, and this varies by specific game rather than being a general HDR characteristic.
Can I use HDR over any cable, or does it need a specific connection type?
HDR requires sufficient cable bandwidth for the resolution, refresh rate, and color depth combination you’re running; DisplayPort 1.4 and HDMI 2.1 both support HDR at high resolutions and refresh rates, but older HDMI 2.0 connections can be bandwidth-limited at higher combined settings, sometimes requiring a drop in refresh rate or chroma subsampling to maintain HDR.
Nina Alvarez, Display Specialist, walks every HDR-capable review monitor through this exact calibration sequence on the testbench before forming any judgment about its HDR performance, since an uncalibrated HDR display and a properly calibrated one from the same panel can look meaningfully, sometimes surprisingly, different. For monitors with genuinely strong HDR hardware behind the marketing label, see our guides to the best HDR gaming monitors and best OLED gaming monitors.


