
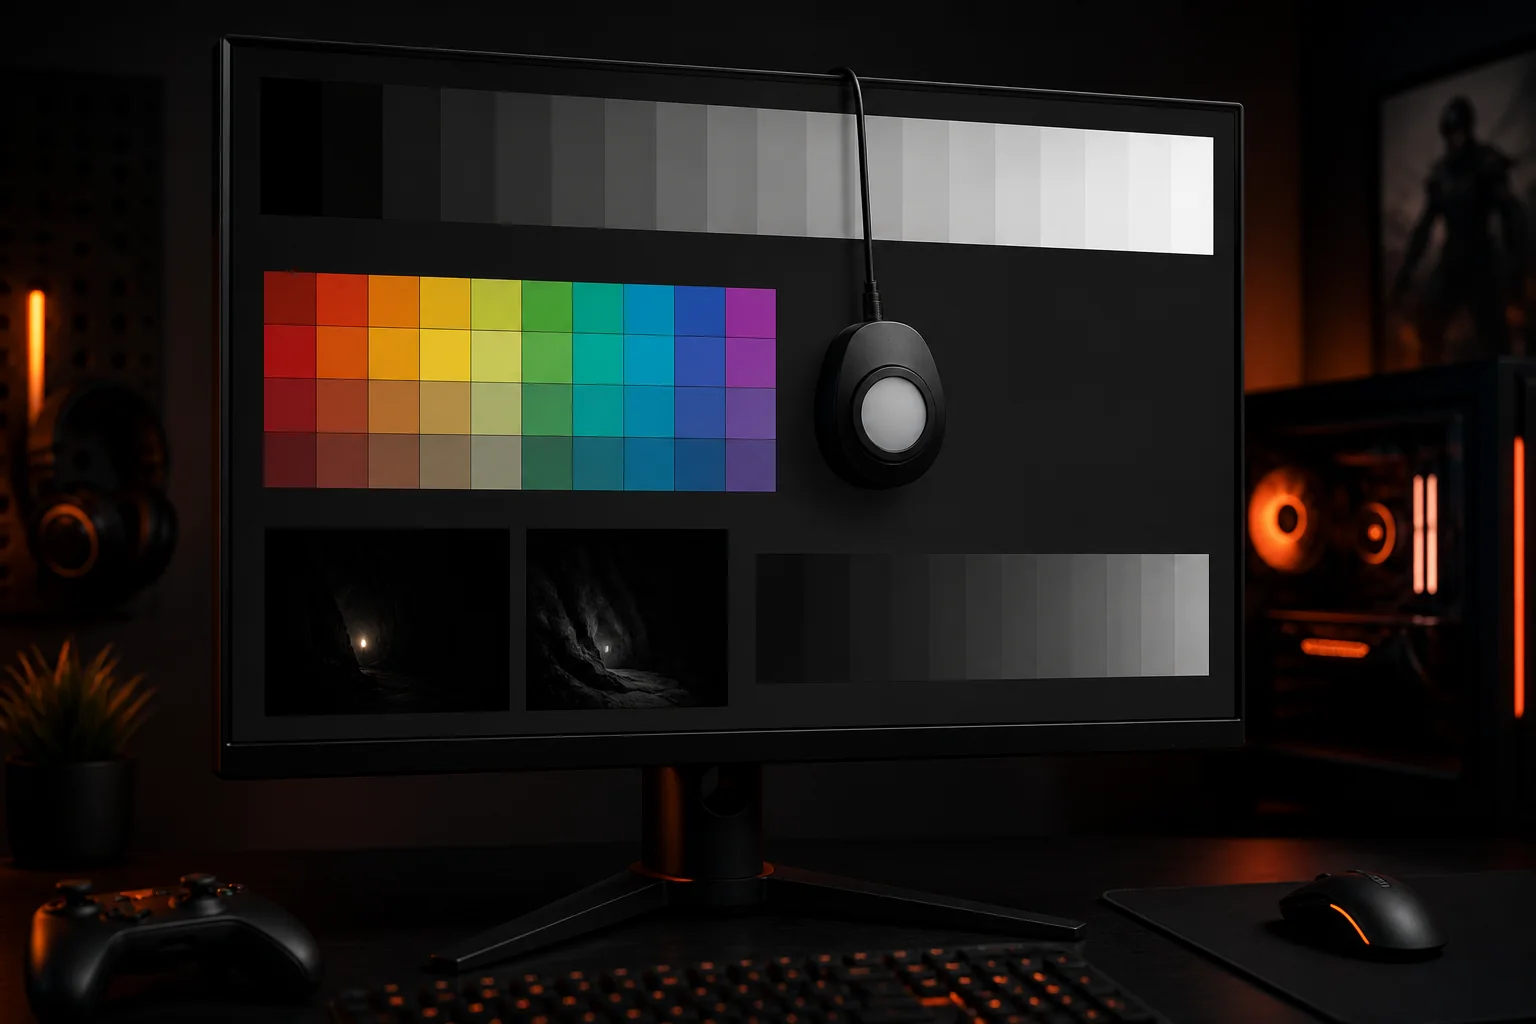
Monitor calibration with software means using a colorimeter (a small hardware sensor) paired with a program like DisplayCAL to measure your specific screen’s actual color and brightness output, then generate a correction profile Windows applies automatically. Without a colorimeter, you can still meaningfully improve a monitor using free test patterns like the Lagom LCD test to adjust basic settings by eye, though that approach is a rough approximation rather than true calibration.
Top 3 picks at a glance
Quick answer
For genuine calibration, get an affordable colorimeter (models from X-Rite/Calibrite or Datacolor are common choices), install the free open-source DisplayCAL software, and run its guided calibration and profiling process, which takes 15-30 minutes and produces a profile Windows loads automatically going forward. If you don’t have a colorimeter yet, start with the free Lagom LCD test pages to adjust brightness, contrast, and gamma by eye as a reasonable interim step.
As an Amazon Associate we earn from qualifying purchases at no extra cost to you. Product prices and availability are accurate as of the date shown and are subject to change.
![DeskFX Free Audio Effects & Audio Enhancer Software [PC Download]](https://m.media-amazon.com/images/I/41fXbDohyuS._SL160_.jpg)

![WavePad Audio Editing Software - Professional Audio and Music Editor for Anyone [Download]](https://m.media-amazon.com/images/I/B1fcLEGCs6S._SL160_.png)
| Method | What it needs | Accuracy |
|---|---|---|
| DisplayCAL + colorimeter | Hardware sensor (one-time purchase) | High, objectively measured |
| Lagom LCD test (eye-based) | Nothing, free web tool | Rough, subjective |
| Monitor’s built-in factory calibration mode | Nothing, if the monitor has one | Moderate, varies by model |
Why factory monitor settings are usually inaccurate
Monitors leave the factory tuned for a retail showroom environment more than for accuracy, which typically means oversaturated colors, excessive contrast, and a blue-shifted white point designed to catch attention next to other displays under bright store lighting. This out-of-box “vivid” or “gaming” mode is rarely how the content you’re viewing, whether that’s a game, a movie, or a photo, was actually created to look.
Manufacturing variance also plays a role independent of any preset: even two units of the exact same monitor model can have measurably different actual color output due to normal panel-to-panel variation in the manufacturing process, which is part of why a single universal calibration profile downloaded online for “your monitor model” is never as accurate as a profile generated from measuring your specific unit.
For gaming specifically, an inaccurately calibrated display doesn’t just look wrong, it can genuinely put you at a disadvantage in games where color contrast matters for spotting enemies or details, since a blown-out or overly contrasty picture can crush shadow or highlight detail that a more accurately calibrated screen would preserve. This is separate from, but complementary to, the panel technology choice covered in our IPS vs VA vs TN comparison, since calibration works within whatever a panel’s underlying capabilities allow.
Calibration is also distinct from HDR setup, which involves a different set of considerations covered in our HDR on PC explained guide; SDR calibration and HDR configuration are related but not interchangeable processes.
Choosing a colorimeter
A colorimeter is a small hardware device that sits against your screen and measures actual emitted light, giving objective data that no amount of eyeballing test patterns can replicate, since human color perception adapts to whatever it’s currently looking at and is genuinely unreliable as a measurement instrument on its own. Entry-level colorimeters from established brands are reasonably affordable and sufficient for consumer monitor calibration; you don’t need a professional-grade spectrophotometer for typical gaming monitor use.
When shopping, check that whichever colorimeter you’re considering has active, current driver support for DisplayCAL specifically, since compatibility and feature support (particularly for wide color gamut and high-brightness HDR displays) varies between device generations, and an older discontinued model may have weaker support for measuring the very bright, wide-gamut panels common in current gaming monitors.
The colorimeter is a one-time hardware purchase that can be reused across every monitor you own or calibrate in the future, unlike a subscription service, making it a reasonable investment if you own multiple displays or plan to keep whichever gaming monitor you settle on, covered in our best gaming monitor guide, for several years.
Installing and setting up DisplayCAL
DisplayCAL is a free, open-source calibration program available from its official displaycal.net site, built on top of the well-established ArgyllCMS color management engine underneath its more approachable interface. After installing DisplayCAL, connect your colorimeter via USB and it should be automatically detected in the device dropdown at the top of the main window; if it isn’t detected, confirm the correct driver for your specific colorimeter model is installed separately, since some devices need a dedicated driver beyond what DisplayCAL itself provides.
Before running a full calibration, it’s worth adjusting your monitor’s on-screen display (OSD) settings manually first: set brightness to a comfortable level for your room (a colorimeter can measure and target a specific brightness in nits during profiling, commonly around 100-120 nits for a dim room or higher for a brighter one), and if your monitor’s OSD has separate RGB gain controls, leave them at default unless you’ve previously identified a specific color cast issue, since DisplayCAL’s profile will correct for reasonable starting deviations either way.
DisplayCAL’s main workflow has two connected steps: calibration, which adjusts your monitor’s fundamental response curve (white point, gamma, and black level) and is loaded through the video card’s LUT (lookup table), and profiling, which measures the resulting color accuracy across a wide range of colors and produces an ICC profile describing exactly how your display now renders color. Both run automatically as part of the same guided process for most users.
Running the calibration and profiling process
Start by selecting your target settings: white point (D65, roughly 6500K, is the standard target for most general use and gaming), gamma (2.2 is the conventional target for Windows), and target brightness in nits (chosen based on your room’s ambient lighting, with dimmer rooms typically wanting lower target brightness for comfortable viewing). These targets are DisplayCAL’s defaults for a reason and are appropriate starting points for the large majority of users rather than settings that need customization without a specific reason.
Once targets are set, DisplayCAL displays a sequence of colored patches on screen while the colorimeter, physically resting against the display, measures each one; this sequence typically takes somewhere in the range of 10-25 minutes depending on the patch count setting chosen (more patches means longer but more thorough measurement). The screen should not be touched, covered, or have anything change (like a screensaver or notification popup) during this measurement window, since any interruption affects the readings.
After measurement completes, DisplayCAL generates and installs an ICC profile automatically, and Windows applies it going forward, correcting the display’s actual output to better match your chosen targets within the panel’s physical capabilities. A verification pass, which DisplayCAL can run immediately after, re-measures a smaller set of patches against the newly created profile and reports an accuracy score (commonly expressed as Delta E values, where lower numbers mean closer to the mathematically ideal target).
Calibrating without a colorimeter using test patterns
The Lagom LCD test pages are a well-known, free set of test images specifically designed to help identify and correct common monitor setting problems by eye, covering brightness/black level, contrast/white saturation, gamma, and viewing angle response, among others. Each test page includes clear instructions for what a correctly adjusted image should look like, making it more actionable than generic advice to “adjust until it looks right.”
Working through Lagom’s contrast test, for instance, involves adjusting your monitor’s contrast setting in its OSD until specific pattern blocks become distinguishable at the intended threshold, rather than either crushing them together (contrast too high) or making everything look washed out and gray (contrast too low). This process takes maybe 10-15 minutes total across the various test pages and meaningfully improves an obviously out-of-box monitor even without any hardware measurement device.
The clear limitation of this eye-based approach is that it can’t correct for actual color inaccuracy, since you have no objective reference for what a specific color should look like versus what your eyes, adapted to the room’s ambient light and the screen’s current state, perceive it as. Eye-based adjustment gets a monitor from “clearly wrong” to “reasonably close,” while colorimeter-based calibration gets it from “reasonably close” to “measurably accurate.”
Calibrating for multiple use cases on one monitor
Many gaming monitors let you save several distinct picture mode presets, which can be used to maintain separate calibration targets for different purposes: one profile tuned for accuracy during general desktop and content viewing, and a second tuned specifically for gaming with slightly different brightness or contrast preferences. DisplayCAL can generate separate ICC profiles for each, though remember that only Windows-aware applications and windowed content will actually use the software-level ICC profile, while the OSD-level hardware preset remains the more universally effective lever for full-screen games as covered elsewhere in this guide.
Content creators who both game and produce color-sensitive work on the same monitor benefit most from this kind of multi-profile approach, since gaming and professional color work sometimes have genuinely different accuracy and brightness priorities; a single compromise profile trying to serve both purposes equally well is rarely as satisfying as two purpose-built ones swapped between as needed.
Gaming-specific calibration considerations
Many gaming monitors include a dedicated “sRGB” or similarly named picture mode intended to more closely emulate standard color space accuracy compared to their default wide-gamut vivid mode; enabling this mode as a starting point before calibration, if your monitor offers it, can sometimes produce better calibration results since you’re correcting a smaller initial gap rather than pulling all the way back from an aggressively oversaturated default.
Some monitors lock out certain OSD adjustments, including brightness or color controls, while in specific “gaming” or competitive picture modes, which can interfere with achieving your target settings; check whether your specific monitor has this limitation and switch to its standard or custom picture mode for calibration if so, since a locked mode won’t cooperate with the process regardless of software.
High refresh rate gaming monitors occasionally show a very slight difference in color output between different refresh rate settings due to how the panel’s internal processing pipeline changes at different rates; if you regularly switch refresh rates for different games, it’s worth being aware this could theoretically introduce a small accuracy gap between rates, though for most users this difference is negligible enough not to warrant separate calibration profiles per refresh rate.
When software calibration alone won’t be enough
A monitor with a genuinely faulty backlight, visible color uniformity issues (patches of the screen looking warmer or cooler than others), or significant panel-level defects like backlight bleed or clouding cannot be fully corrected through calibration, since these are physical hardware limitations rather than something a correction profile in the video pipeline can compensate for uniformly across the whole screen. Calibration corrects overall color response; it does not fix localized panel inconsistencies.
HDR content calibration is a meaningfully different and more involved process than standard SDR calibration covered here, requiring HDR-capable measurement tools and different target standards; Windows’ own built-in HDR Calibration app handles basic HDR tuning reasonably well for most users and is covered in more depth in our HDR on PC guide, but it is a separate workflow from the SDR-focused DisplayCAL process described above.
Extremely budget or older monitors with limited internal color processing (particularly some TN panels or older 6-bit color panels using dithering to simulate additional colors) have a physically narrower color capability that even a perfect calibration profile cannot expand beyond; calibration improves accuracy within a panel’s existing gamut and bit depth, it cannot add color range a panel doesn’t physically have.
Troubleshooting calibration issues
If the calibrated profile appears to make colors look worse or oddly tinted rather than better, first confirm the profile actually loaded and is active in Windows’ color management settings (search “color management” in the Start menu, then check the Advanced tab for the correct default profile assignment to your specific display), since a profile that generated successfully but didn’t get set as the active default won’t visibly change anything.
Profiles that appear to reset or stop applying after a system restart, particularly on multi-monitor setups, often indicate a Windows color management loading issue rather than a DisplayCAL problem; DisplayCAL includes a “Profile Loader” utility that can be set to launch at Windows startup specifically to ensure profiles reapply reliably every boot, which is worth enabling if you notice this behavior.
A colorimeter reporting inconsistent readings between calibration attempts on the same monitor, more than a small margin of variance, can indicate the sensor isn’t making flush, light-sealed contact with the screen surface, particularly relevant on curved monitors where the device’s flat sensor face doesn’t naturally match the screen’s curvature; some colorimeter models include curved-screen adapter clips specifically for this reason, worth checking if you own a curved gaming monitor.
If DisplayCAL fails to detect the colorimeter at all, verify it’s connected directly to a USB port on the PC rather than through a hub or KVM switch, since some colorimeters are sensitive to USB power delivery inconsistencies that hubs and switches can introduce, and try a different USB port before assuming a driver or hardware fault.
Frequently asked questions
Do I need a colorimeter, or can I calibrate using only software and my eyes?
A colorimeter measures actual light output objectively and is the only way to achieve accurate, repeatable calibration; eye-only adjustment using test patterns can meaningfully improve an obviously miscalibrated display but can’t correct for the fact that human color perception adapts and is unreliable as a measurement tool.
How often should I recalibrate a monitor?
Most panels drift gradually over time due to backlight aging, so recalibrating roughly every 3-6 months for regular use is reasonable, though a monitor used for color-critical work benefits from monthly checks.
Will calibration reduce my monitor’s brightness or make it look worse for gaming?
Accurate calibration often does reduce peak brightness compared to an out-of-box “vivid” or “gaming” picture mode, since factory modes are frequently tuned to look punchy in a showroom rather than accurately, so it’s common to feel a calibrated image looks slightly duller at first even though it’s more accurate.
Does calibration fix input lag or response time?
No, calibration adjusts color accuracy and tone response, not the panel’s physical response time or the display pipeline’s processing delay, which are separate hardware and firmware characteristics unaffected by a calibration profile.
Can I use the same calibration profile on a different monitor?
No, a calibration profile is generated for the specific characteristics of one physical panel, including its individual backlight and color filter variance, so applying one monitor’s profile to another, even the identical model, won’t produce accurate results.
As Nina Alvarez, Display Specialist here, verifies with a colorimeter, photodiode response-time tester and pattern generator on the testbench, the gap between a factory “vivid” preset and a properly calibrated profile is consistently one of the larger, more surprising differences people notice once they see it side by side. If you’re calibrating before or after a monitor purchase, our guides to choosing a gaming monitor and best gaming monitors cover the hardware side of the decision.


