
A condenser microphone is a sensitive microphone that uses a thin electrically charged diaphragm to capture sound, producing a bright and detailed signal that suits quiet rooms, voice-overs and streaming. On a gaming PC it matters because it picks up everything, including your keyboard and fans, and it needs power: USB models take it from the port, while XLR models need 48 V phantom power from an audio interface or mixer.
As an Amazon Associate we earn from qualifying purchases at no extra cost to you.
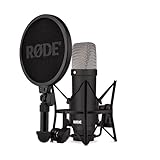
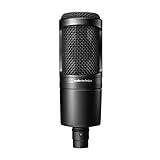


Our Top Picks
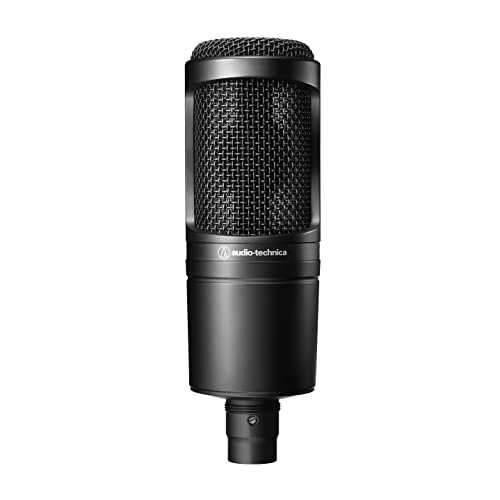 Audio-Technica AT2020 Cardioid Condenser Studio XLR Microphone09.6 x 9.6 x 2.6 Inches1.3 poundsCheck on Amazon
 Logitech Creators Blue Yeti USB Microphone for PC1 Count (Pack of 1)4.92 x 4.72 x 11.61 Inches3.51 poundsCheck on Amazon
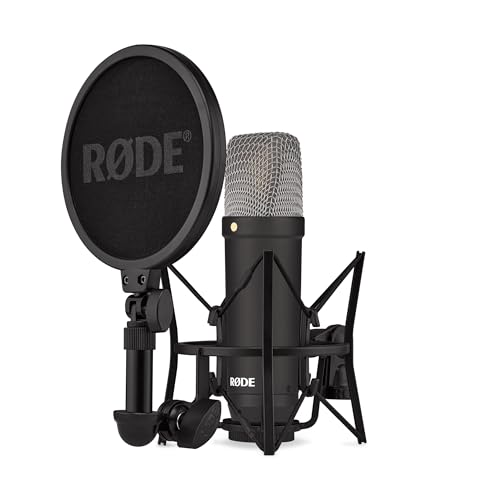

Top 3 picks at a glance
What a Condenser Microphone Is
Inside a condenser, a lightweight diaphragm sits very close to a metal backplate. Together they form a capacitor (once called a condenser). Sound waves move the diaphragm, changing the distance and therefore the electrical charge, which the microphone’s internal circuitry turns into an audio signal. Because the diaphragm is so light, condensers respond quickly to fine detail and high frequencies. That is why sources describe them as brighter and more detailed than dynamic microphones, which tend to sound warmer and more “broadcast”.
How It Gets Power
The internal circuitry needs power, and this is the main practical difference from a dynamic microphone.
- USB condensers take power from the USB port (5 V) and include their own converter, so they plug straight into a PC.
- XLR condensers need phantom power, commonly 48 V, delivered through the XLR cable by an audio interface, preamp or mixer. A USB port cannot supply that voltage by itself.
- Dynamic microphones are passive and need no phantom power. Sources note that phantom power will not normally harm a standard dynamic microphone, but some ribbon microphones can be damaged by it, so read the microphone’s manual.
Condenser vs Dynamic at a Glance
| Aspect | Condenser | Dynamic |
|---|---|---|
| Sensitivity | High; captures fine detail and room sound | Lower; ignores more background noise |
| Tone | Bright, detailed | Warm, fuller low end |
| Power | USB, or 48 V phantom for XLR | None for passive models |
| Background noise pickup | High (keyboard, fans, room echo) | Lower |
| Best room | Quiet or treated | Noisy or untreated |
| Typical gaming use | Streaming and recording in a calm room | Loud play, mechanical keyboards |
Why It Matters for Gaming PCs
A gaming PC is often a noisy place: case fans, a loud graphics card, a mechanical keyboard and a mouse click all sit a few inches from the microphone. A condenser will pick these up. One headset maker’s comparison with a keyboard nearby reports that a dynamic microphone barely registered keystrokes while a condenser captured each one. Most guides therefore point to a dynamic microphone for noisy setups and loud, high-energy gameplay, and to a USB condenser as the simplest plug-and-play choice for a quiet room. An XLR condenser makes sense mostly if you already own an interface with phantom power. A good headset with a built-in microphone remains the most practical option for ordinary online play.
How to Check or Set It Up on Your Own System
- Identify the connection. A USB cable means it is a USB microphone. A three-pin XLR plug means you need an interface.
- Plug a USB microphone directly into a rear motherboard USB port where possible, as front-panel ports can add interference on some cases.
- In Windows, open Settings, then System, then Sound, and pick the microphone under Input. Speak and watch the input level meter.
- Adjust the input volume. A healthy level peaks well below the maximum, leaving headroom so shouting does not distort.
- For an XLR microphone, connect it to the interface, switch on the 48 V button only once the cable is connected, and set the gain on the interface rather than in Windows.
- Choose the pickup pattern if the microphone has a switch. Cardioid, which favours sound from the front, is the usual choice for a single speaker at a desk.
- Place the microphone a few inches from your mouth, slightly off-axis, and use a pop filter to soften plosive sounds. A shock mount or boom arm reduces desk vibration and keyboard thumps.
Always turn phantom power off before connecting or unplugging an XLR cable, and keep the interface gain low when switching it on, to avoid loud pops through headphones.
Common Misconceptions
- “Condensers are always better quality.” They capture more detail, but in an untreated room that includes unwanted noise.
- “USB microphones use phantom power.” They do not; they use the 5 V USB supply.
- “Higher price means less keyboard noise.” Pickup depends on the microphone type, pattern, distance and room.
- “Phantom power damages every microphone.” Dynamic and condenser microphones are generally fine with it, but delicate ribbon types may not be.
- “Software removes all noise.” Noise-suppression tools help, but they cannot fully repair a poorly captured signal.
When to Care and When to Ignore It
Care about the microphone type if you stream, record voice-overs or podcast and have a reasonably quiet room. Ignore it if you only talk with friends in games and a headset microphone is enough. If your room is loud, consider a dynamic microphone, a closer mouth distance and a low gain setting before considering a condenser. If audio crackles or the level meter stays flat after setup, check the cable, the Windows input selection and any physical mute switch before assuming the microphone is faulty, and contact the maker if the problem continues.
Choosing Between USB and XLR
A USB condenser is the simplest path: one cable, no extra gear, and the PC sees it as an audio device. Many include a headphone jack for zero-latency monitoring, which helps you hear yourself without delay. The trade-off is that the converter and preamp are built in and cannot be upgraded. An XLR condenser separates the microphone from the interface, so you can later change either part, add a second microphone, or route audio to a mixer. That flexibility needs more desk space, more cables and a compatible interface with phantom power.
Other specifications worth reading on a product page include the polar pattern options, the frequency response range, the maximum sound pressure level (which shows how loud a source can be before distortion) and the sample rate and bit depth for USB models. Most voice work needs nothing beyond 48 kHz and 24-bit, so higher numbers are rarely a deciding factor. Room treatment, even simple soft furnishings, usually improves a condenser recording more than extra specifications do.
Frequently Asked Questions
Do I need an audio interface for a condenser microphone?
Only for XLR models, which need phantom power and a preamp. USB condensers plug directly into the PC and need no interface.
Is a condenser microphone good for streaming?
It can be, in a quiet or treated room. In a noisy room, a dynamic microphone is usually described as the safer choice because it rejects more background sound.
Will a condenser microphone pick up my keyboard?
Yes, often clearly, especially with mechanical switches. A boom arm, closer positioning, a cardioid pattern and lower gain all help reduce it.
What is phantom power?
It is a 48 V supply sent down an XLR cable from an interface or mixer to power the microphone’s electronics. A button or switch on the device turns it on.
Can I use a condenser microphone without a pop filter?
You can, but plosive sounds such as “p” and “b” will be harsher. A pop filter is a low-cost accessory that improves clarity.


